
Variations
Honey Amish Bread: Replace sugar with honey for deeper flavor.
Butter-Rich Version: Use melted butter instead of oil.
Whole Wheat Blend: Replace 2 cups of flour with whole wheat flour.
Dinner Rolls: Shape into rolls and bake for 15–18 minutes.
Cinnamon Swirl Bread: Add cinnamon sugar before shaping loaves.
Cooking Notes
Water should be warm, not hot, to avoid killing the yeast.
Kneading develops gluten and ensures soft texture.
Proper rising is key for fluffy loaves.
Brush tops with butter after baking for extra softness.
Serving Suggestions
Serve Amish White Bread fresh with butter, honey, or jam. It’s perfect for sandwiches, toast, grilled cheese, French toast, and bread pudding. This bread also pairs beautifully with soups, stews, and hearty dinners.
Tips
Measure flour correctly to avoid dense bread.
Let bread cool fully before slicing for best texture.
Store wrapped at room temperature for up to 3 days.
Freeze sliced bread for long-term storage.
Prep Time
20 minutes
Cooking Time
30 minutes
Total Time
2 hours 20 minutes (including rising time)
Nutritional Information (Approximate per slice)
Calories: 160
Protein: 4g
Sodium: 190mg
FAQs
Why is Amish White Bread slightly sweet?
Traditional Amish recipes use sugar for softness, flavor, and yeast activity.
Can I use instant yeast instead?
Yes, but reduce the amount slightly and skip the proofing step.
How do I keep homemade bread soft?
Store tightly wrapped and brush with butter after baking.
Can I freeze Amish White Bread?
Yes, freeze whole loaves or slices for up to 3 months.
Conclusion
Amish White Bread is a classic homemade recipe that delivers unmatched softness, gentle sweetness, and old-fashioned comfort in every slice. Simple to make and endlessly versatile, this bread is perfect for everyday use or special meals. Once you bake it yourself, store-bought white bread simply won’t compare—this timeless loaf is one you’ll return to again and again.
-
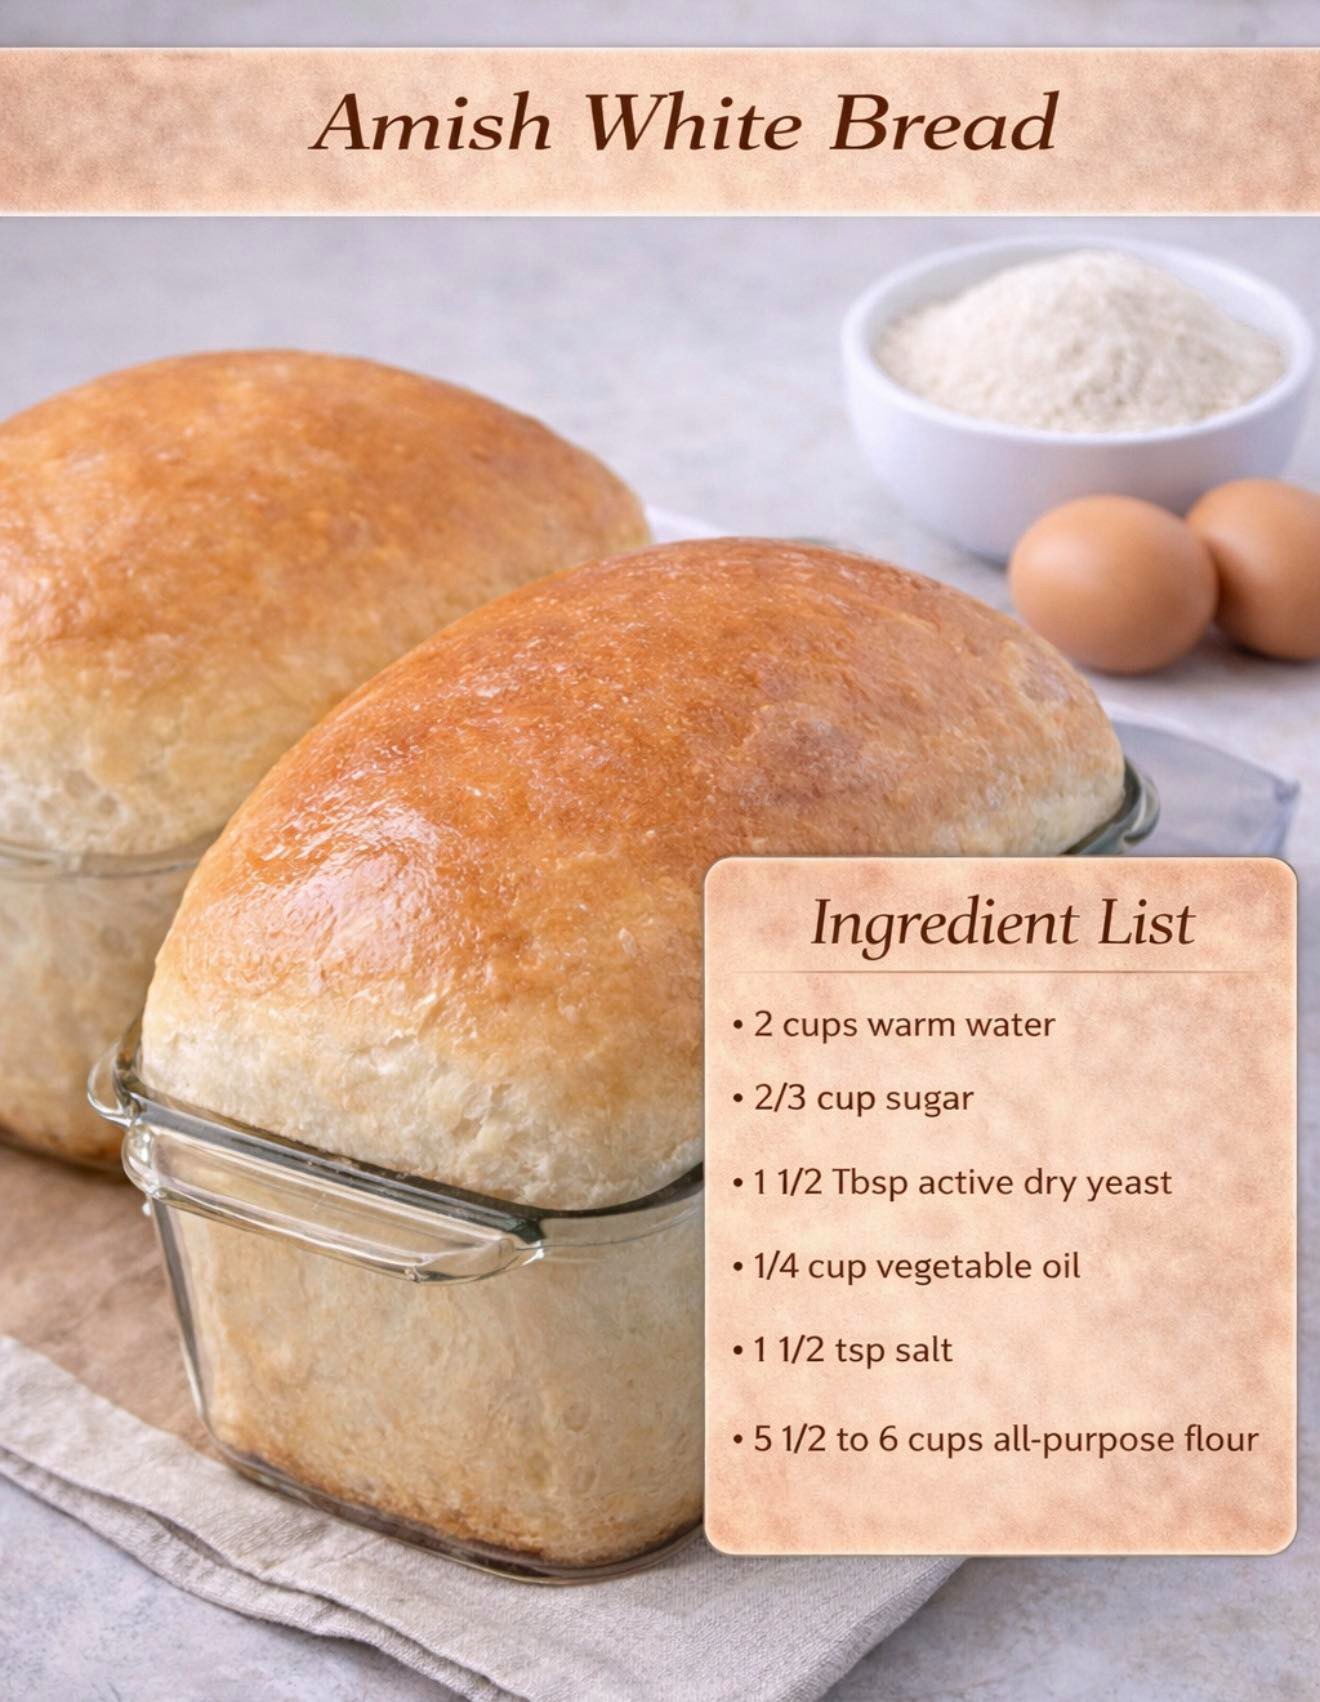
2 cups warm water (110°F / 43°C)
-
⅔ cup granulated sugar
-
1 ½ tablespoons active dry yeast
-
¼ cup vegetable oil or melted butter
-
1 teaspoon salt
-
6 cups all-purpose flour (plus more as needed)
Instructions
In a large mixing bowl, dissolve sugar in warm water. Sprinkle yeast over the top and let sit for 5–10 minutes until foamy. This confirms the yeast is active.
Step 2: Add Wet Ingredients
Stir vegetable oil (or melted butter) and salt into the yeast mixture until well combined.
Step 3: Form the Dough
Gradually add flour, one cup at a time, mixing until a soft dough forms. Turn the dough out onto a lightly floured surface and knead for 6–8 minutes until smooth and elastic.
Step 4: First Rise
Place the dough in a lightly greased bowl, turning once to coat the surface. Cover with a clean towel and let rise in a warm place for about 1 hour, or until doubled in size.
Step 5: Shape and Bake
Punch down the dough and divide it into two equal portions. Shape each portion into a loaf and place into greased loaf pans. Let rise again for 30 minutes. Bake at 350°F (175°C) for 25–30 minutes, until golden brown. Remove from pans and cool on a wire rack.
Notes
-
Water should be warm, not hot, to avoid killing the yeast.
-
Kneading develops gluten and ensures soft texture.
-
Proper rising is key for fluffy loaves.
-
Brush tops with butter after baking for extra softness.
